How to Repair RV Roof: A Complete Guide for RV Owners
- Get link
- X
- Other Apps
How to Repair RV Roof: A Complete Guide for RV Owners
RV roof repairs are common maintenance tasks that every RV owner should know how to handle. This guide walks you through the complete process of fixing your RV roof damage. Finding a leading RV service and repair solution starts with understanding the basic steps involved in roof maintenance. We’ll cover how to spot damage, what materials you need, surface preparation, applying fixes, and testing your work. These steps help you keep your RV in great condition and prevent costly water damage.
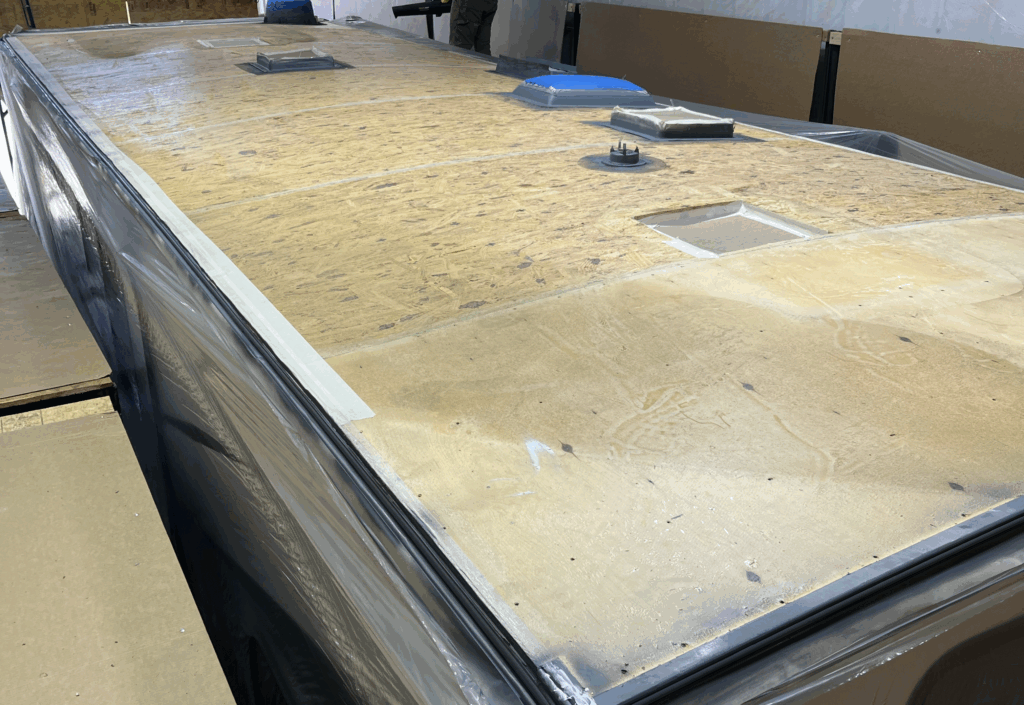
Identifying Roof Damage
Start your roof inspection by checking the seams and edges for cracks or separation. These spots are where leaks happen most often. Look closely at the sealant around vents, air conditioners, and other roof openings. Check for bubbling, peeling, or color changes in the roof material – these signs point to problems underneath. Use a flashlight to find punctures, tears, or holes in the roof. Please pay attention to soft spots or areas that feel different when you walk on them, as these could mean water damage. Finding roof damage early is key to making good repairs and keeping your RV safe.
Gathering Materials and Tools
Make a detailed list of everything you need before starting your roof repair. Get quality roofing materials like EPDM rubber roofing, sealant, and adhesive. Collect tools, including a putty knife, caulking gun, screwdriver, and utility knife for clean cuts. Don’t skip safety gear – grab gloves, goggles, and a sturdy ladder to reach the roof safely. You’ll also need cleaning supplies like a broom, mild soap, and a hose to prepare the roof surface properly. Having all your materials and tools ready before you start helps you work smoothly and ensures a successful repair job.
Preparing the Roof Surface
Clean the RV roof surface completely before starting repairs – this helps new materials stick properly. Remove dirt, debris, and old sealant using a broom, brush, or vacuum. Wash the roof with mild soap and water, scrubbing all areas clean. Rinse everything off well, then let the roof dry completely before moving to the next step. Check the surface for damage like cracks or holes during this stage. Fix any existing damage before applying new sealant. Taking time to prepare the roof surface properly creates a strong base for a repair that will last.
Applying Sealant or Patch
Once the roof surface is clean and dry, apply your sealant or patch to create a lasting repair. Make sure the area is completely dry and free of debris. Use a caulking gun to apply plenty of sealant over the damaged area, covering it completely. Smooth the sealant with a putty knife to create an even surface and remove extra material. For patches, cut them to the right size, put adhesive on both the patch and the damaged area, then press the patch firmly in place. Let the sealant or patch dry completely before checking your work.
Inspecting and Testing Repairs
Check the repaired areas carefully to make sure they’re secure and working properly. Start by looking at the sealed or patched spots for signs of cracking, peeling, or separation. Run your hands gently over the repaired sections, feeling for uneven surfaces or soft spots that might show poor sealing. Test the repairs by using a garden hose to spray water over the fixed areas. Watch closely for any leaks or water getting through – this confirms your repairs are watertight and ready to handle different weather conditions on the road.
Related Topics:
The post How to Repair RV Roof: A Complete Guide for RV Owners appeared first on Patriots RV Services.
from Patriots RV Services https://ift.tt/datYocR
via IFTTT
- Get link
- X
- Other Apps


Comments
Post a Comment